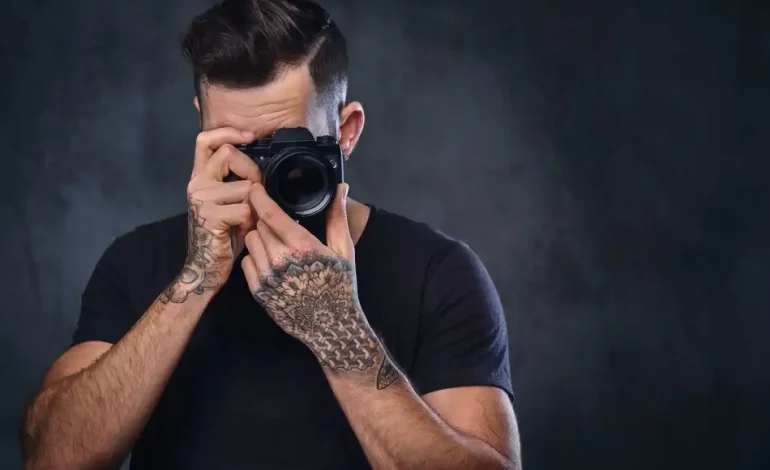
Unlock the next level of creativity with these advanced editing tutorials designed for ambitious creators ready to go pro. Whether you’re refining photos in Lightroom, crafting cinematic videos in Premiere Pro, or experimenting with AI tools in Photoshop, these step-by-step guides deliver game-changing techniques to save time and amplify impact.
Understanding Advanced Editing Software
It is important to select the appropriate editing software before getting down to particular techniques. The Adobe Lightroom and Photoshop are the industry models, which provide a powerful tool to a photographer. Photoshop performs well in detailed retouching and compositing whereas Lightroom is well suited in batch processing and color adjustment. Getting familiar with the ability of these programs will be the basis of higher-level editing.
Color Grading: Creating Mood and Atmosphere
Color grading is a kind of a technique granting you the ability to adjust the colors and tones in your pictures to produce a certain mood or atmosphere. This may be done in a number of ways which include:
- Using Adjustment Layers in Photoshop: This allows you to make small changes to colors without modifying the original image. Adjustment layers in Photoshop e.g. Curves, Hue/Saturation and Color Balance can be used to make subtle alterations in the colors of the image you are working on. These layers may be experimented to assist you in the attainment of distinctive color pallets that influence the emotional quality of your photographs.
- Split Toning in Lightroom: This is a feature that enables you to give the highlights and shadows of your image a different color. An example is, use of warm colors in highlights as well as cool colors in shadows, which will produce a visual contrast that will increase the total depth of your photo.
Advanced Retouching Techniques
Retouching is essential for refining your images and removing distractions. Here are some advanced techniques to consider:
- Frequency Separation:This technique enables you to isolate the texture and the color of your picture and then be able to do accurate retouching of skin without compromising the coloration of the picture. Begin by making a copy of your image layer and applying a Gaussian Blur to one of your layers to obtain the color layer and a high-pass filter to the other to obtain the texture layer. This method is also applicable especially in portrait picture making where the blemishes in the skin can be reduced without losing the details.
- Dodge and Burn: This is a traditional process that is used to add depth and dimension to your image by selectively lightening (dodging) and darkening (burning) parts of your image. Application Soft brushes and low opacity settings can be used to create a more three-dimensional effect on your subjects by building it up slowly.
Compositing: Merging Multiple Images
Compositing will enable you to combine several pictures in a single work of art. It is an effective technique especially to produce beautiful scenery or surrealism. In order to obtain good compositing:
- Layer Masking: Layer masks have been used to blend the images. With the help of this technique, it is possible to disclose, or conceal portions of layers without the risk of erasing them forever. It is necessary to combine various elements in a balanced manner, like the subject with another background.
- Color Matching:Once you have combined the images, make sure that the colors and the light are the same throughout the composition. Apply the adjustment layers and the blending modes to balance out the general appearance. Watch shadows and highlights, so as to make them consistent all through the composite
Sharpening and Noise Reduction
Post-processing often requires sharpening and noise reduction to enhance image quality. Here’s how to approach these tasks effectively:
- Selective Sharpening: Sharpen areas of your image by indulging in selective sharpening, instead of sharpening the whole image, e.g. the eyes in a portrait or details in a landscape. Apply the high pass filter in photoshop or the sharpening features of Lightroom, changing the radius and the amount to create the effect that you want without leaving any artifact.
- Noise Reduction: Noise may be very troublesome especially in low light images. lightroom use noise reduction sliders Smooth out noisy regions with noise reduction sliders in Lightroom or the Reduce Noise filter in Photoshop. Otherwise, it can be easy to go overboard, and too much noise cancellation may result in the loss of detail.
Creative Effects: Experimenting with Styles
Exploring creative effects can add a unique touch to your photography. Consider these techniques:
- Double Exposure: In this technique, two photos are merged to produce a visual narrative that is interesting to look at. You can do it in Photoshop by putting one image in the Screen mode and changing the level of the image. The effect has the potential to produce fantastic artistry depictions of your subjects.
- Lens Distortion and Vignetting: Lens distortion is a subtle effect that can be added to your photo to focus on the center of your picture. Vignetting is another effect that will focus on the center of your picture. The lens correction tool is available in Lightroom where you correct distortion and use the vignetting effect to smooth the edges of your composition.
Conclusion
The trick lies in mastering the states of art in the editing to transform your photography skills. Learning how to use your editing software, trying out color grading and perfecting your retouching skills as well as learning creative effects will help you take your photos to the next level. Digital photography is beautiful because it allows one to manipulate and improve the images hence there is no need to be afraid to experiment and stretch your boundaries to creativity. The more you keep learning and practicing your editing procedures, your vision of art will become clearer and you will have absolutely amazing photos that would touch the heart of the audience.